Key Takeaways
-
Refrigerant evaporates instantly when exposed to air, leaving no visible puddle or stain, making leaks extremely difficult to detect without specialized tools like electronic detectors or UV dye.
-
Ignoring AC leaks causes moisture and air to enter the system, forming corrosive acids that damage internal components and lead to compressor failure—a costly repair that costs far more than early detection.
-
Electronic refrigerant leak detectors and UV dye are the two most reliable professional methods: detectors pinpoint active leaks quickly, while UV dye excels at finding slow or intermittent leaks over 15-20 minutes of system circulation.
-
Common leak points in truck AC systems are compressor shaft seals, O-rings at fittings, hose crimps, condenser cores, Schrader valves, and evaporator cores—check these areas first during inspection.
-
Simply topping off refrigerant without fixing the underlying leak is temporary; the system must be properly repaired, evacuated with a vacuum pump, and recharged to prevent recurring cooling failure.
-
EPA Section 609 certification is legally required to handle motor vehicle refrigerants in the U.S., so professional technicians should perform leak detection and repairs rather than DIY attempts on complex systems.
Your truck’s A/C stops blowing cold air on a hot Tampa summer day. You top off the refrigerant, and a week later — same problem. Sound familiar? You likely have a refrigerant leak. Truck AC leak detection is one of the most important steps in keeping your vehicle’s cooling system running strong. A leak that goes undetected doesn’t just mean warm air. It can cause compressor failure, moisture damage, and costly repairs down the road. The good news? Catching a leak early is very doable, and the process is well within reach for any truck owner or fleet manager. This guide walks you through how truck AC leak detection works, what methods the pros use, and when it’s time to hand things over to a specialist. Whether you drive a personal pickup, a long-haul commercial rig, or manage a full fleet, understanding these steps can save you time and money.
Why Truck AC Leaks Are So Hard to Spot
Refrigerant doesn’t behave like engine oil or coolant. It evaporates the moment it hits open air, leaving no puddle and no obvious stain. That makes truck AC leak detection tricky without the right tools. You can’t just look under the hood and spot it dripping.
On top of that, leaks can be tiny. A slow leak through a worn O-ring or a hairline crack in a hose may only cause a noticeable drop in cooling over weeks or months. By the time you feel it, the system has already lost significant refrigerant.
Low refrigerant isn’t just an inconvenience. When refrigerant drops too low, air and moisture can enter the system. That moisture mixes with refrigerant to form acids that corrode internal components. This is one reason ignoring AC leak warning signs costs owners more money in the long run.
Common Leak Points in a Truck AC System
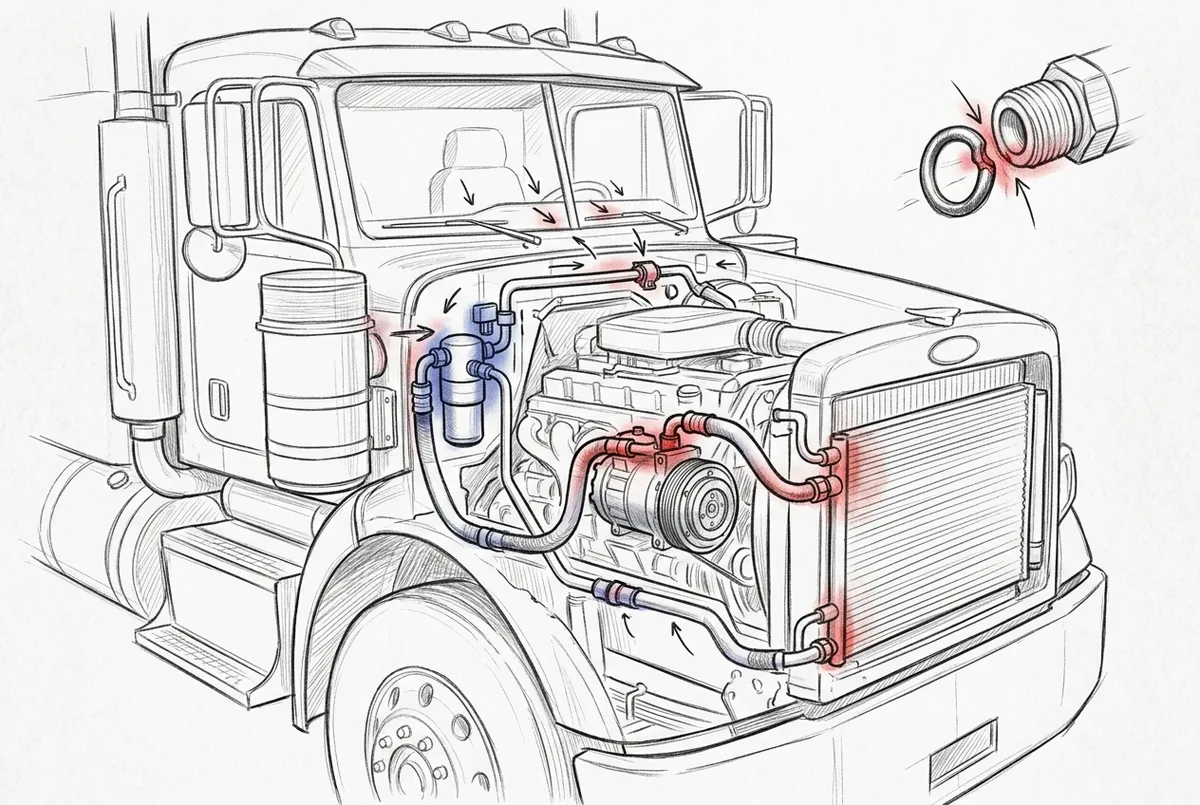
Before you start looking, it helps to know where leaks typically happen. Truck A/C systems have several weak spots that technicians check first during any diagnostic.
- Compressor shaft seal: The rotating shaft is a common leak point, especially on older or high-mileage trucks.
- O-rings and fittings: These small rubber seals dry out and crack over time, especially in hot climates like Tampa.
- Hose crimps and connections: Vibration from the road can loosen or wear hose ends over time.
- Condenser core: Road debris and corrosion can damage the condenser fins and tubes.
- Service ports (Schrader valves): These valves can develop slow leaks if the core is worn or improperly seated.
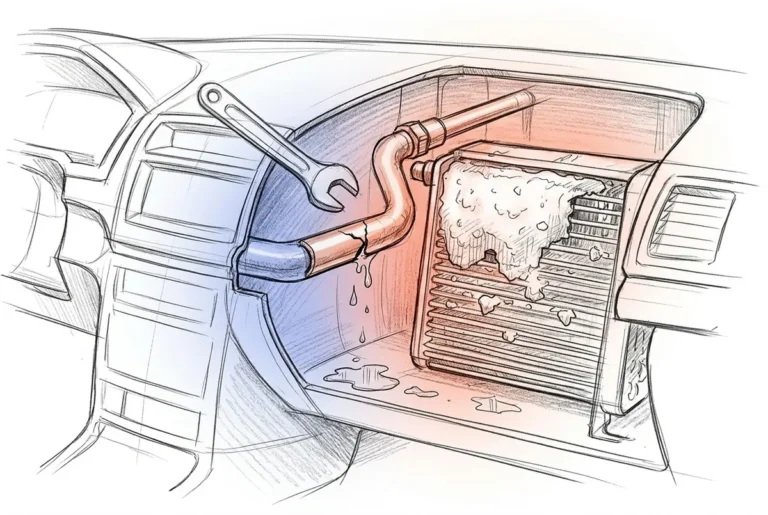
- Evaporator core: Leaks here are tougher to reach since the evaporator sits inside the dash, but they do happen.
If you’re dealing with a recurring refrigerant loss, a thorough inspection of all these areas is essential. You can also learn more about key A/C parts every vehicle owner should understand to better follow along with your technician.
Step-by-Step: Truck AC Leak Detection Methods
There are several proven methods used in professional shops and DIY settings. Each has its strengths, and many techs use more than one approach to confirm a leak’s location.
Step 1: Start With a Visual Inspection
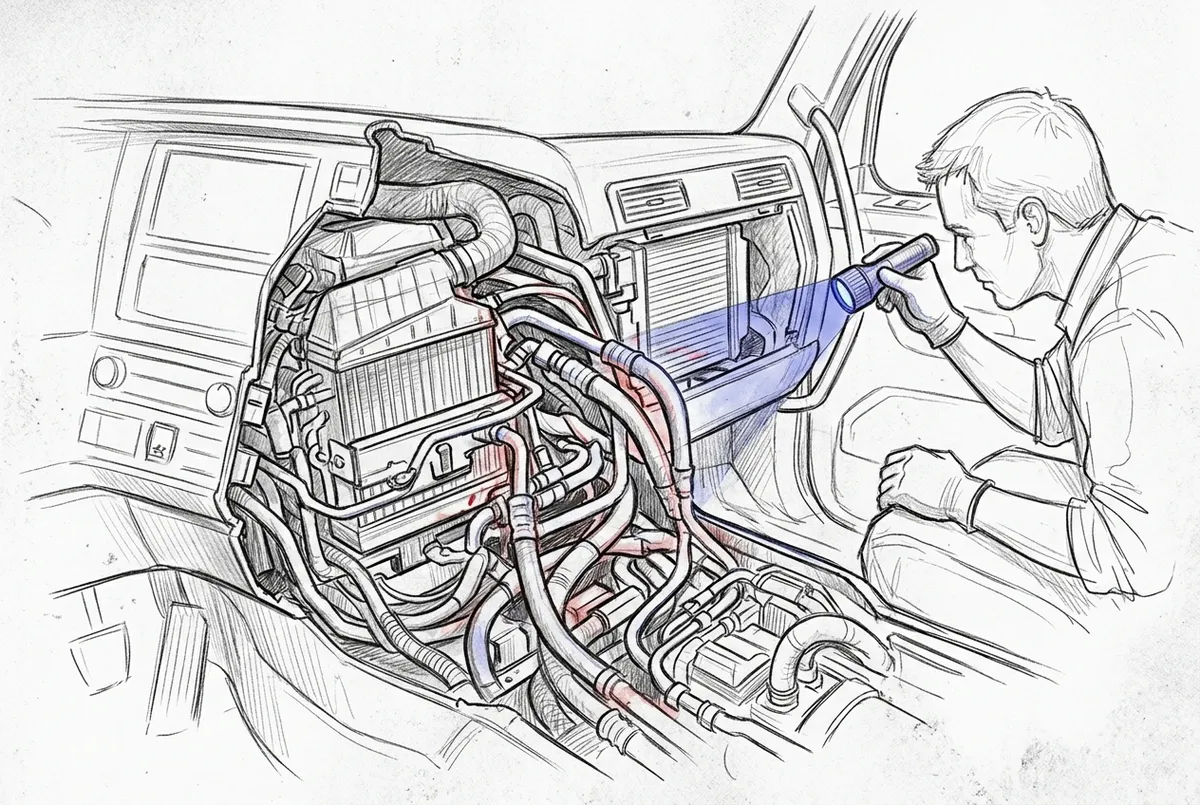
Even though refrigerant itself is invisible, leaks often leave behind a greasy residue. Compressor oil travels with refrigerant, so an oily film near hose connections, the compressor, or fittings can point to a leak area. Check these spots first with a flashlight before reaching for any tools.
Look for discoloration, oily buildup, or damaged hose surfaces. This step doesn’t cost anything and can quickly narrow down where to focus your search.
Step 2: Use an Electronic Refrigerant Leak Detector
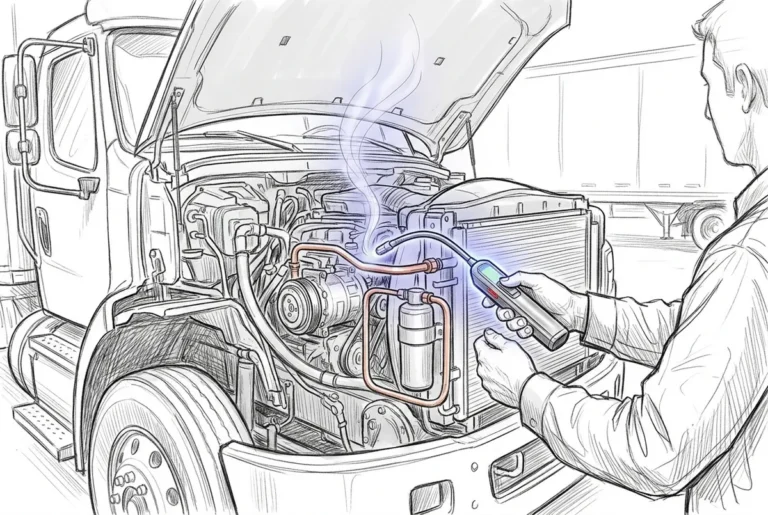
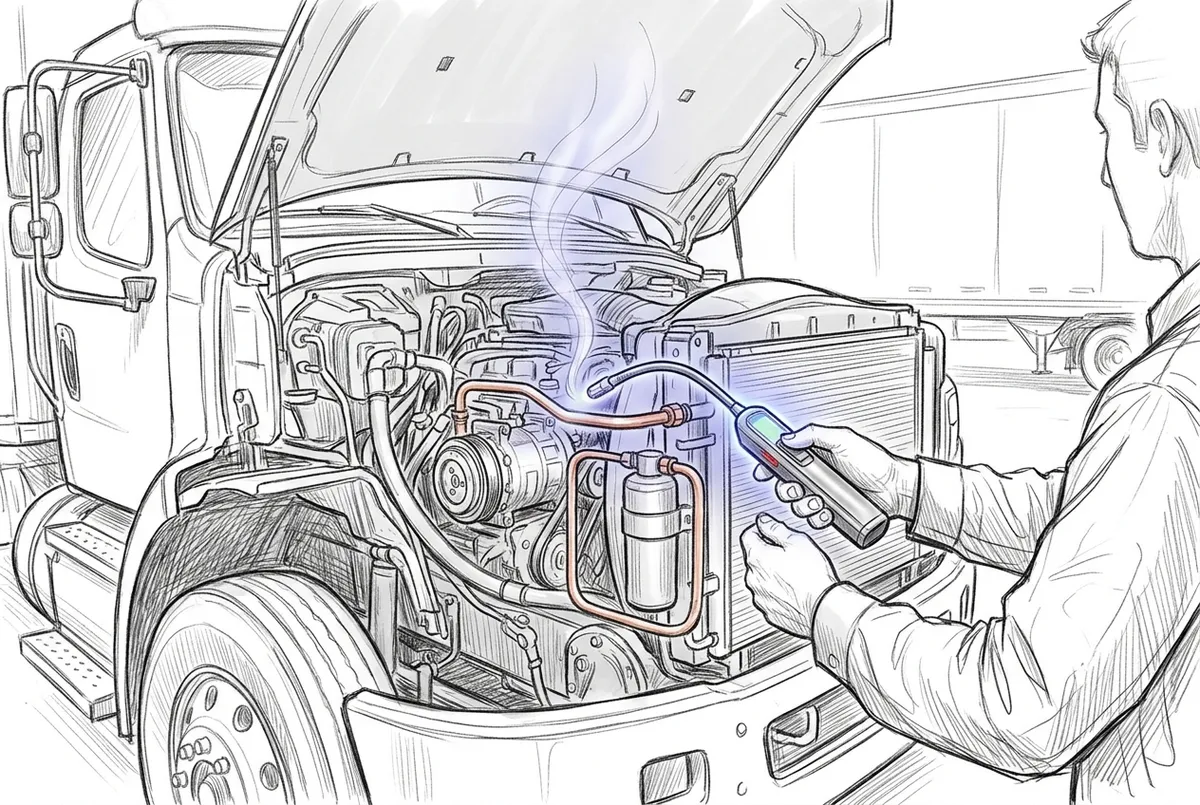
Electronic leak detectors are one of the fastest and most reliable tools in the shop. These handheld devices “sniff” refrigerant molecules near component surfaces and alert you with an audible or visual signal when they detect a leak.
To use one properly:
- Make sure the system has enough refrigerant charge for the detector to pick up escaping gas.
- Slowly move the probe tip along hoses, fittings, the compressor, and condenser — keeping it close to the surface.
- Move the probe slowly (about one inch per second) so the sensor has time to react.
- When the detector alarms, mark the area and continue checking to confirm there’s only one leak source.
Electronic detectors work well for pinpointing small leaks quickly. They’re a standard tool in professional A/C shops and are widely available. According to NAPA, electronic leak detectors and fluorescent dye are the most common methods used by repair shops for automotive A/C leak detection.
Step 3: Add UV Dye and Use a UV Light
UV dye is one of the best tools for finding leaks that are intermittent or difficult to pinpoint with an electronic detector. The dye is added to the A/C system and circulates with the refrigerant. When refrigerant escapes, it carries the dye with it — and that dye glows bright yellow or green under a UV light.
Here’s how to do it:
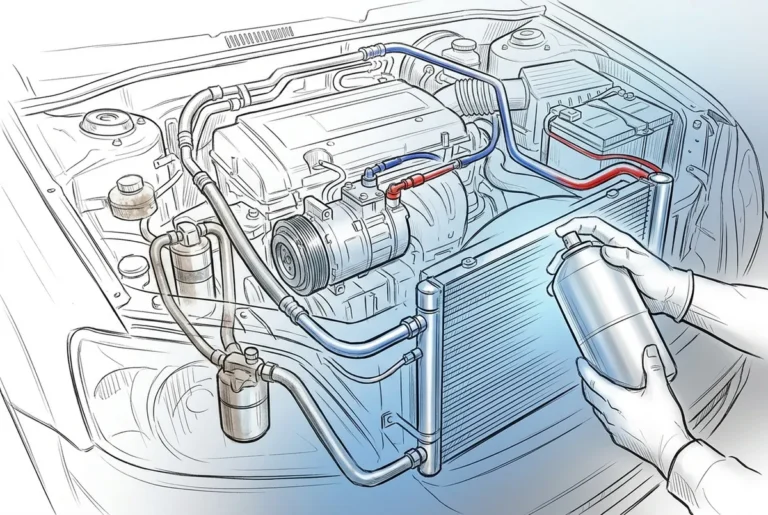
- Inject UV dye into the system using a dye injector kit compatible with your refrigerant type (R-134a or HFO-1234yf).
- Run the A/C system for at least 15–20 minutes to allow the dye to fully circulate.
- Put on the UV-protective glasses included with your kit.
- Shine the UV light across all components — hoses, fittings, compressor, condenser, and evaporator access points.
- Look for glowing traces that indicate where refrigerant — and dye — has escaped.
Dye testing is especially useful for slow or hard-to-find leaks. It’s a great follow-up method when an electronic detector gives a general area but doesn’t nail the exact spot. Many shops leave the dye in the system so that future leaks are easy to spot at the next service visit.
Step 4: Perform a Nitrogen Pressure Test
When a system has already been evacuated — or is empty of refrigerant — a nitrogen pressure test is the go-to diagnostic method. Nitrogen is an inert, dry gas that won’t harm A/C components. Technicians pressurize the system and then listen, feel, or use soap solution to find where gas is escaping.
Automotive A/C systems are commonly tested at around 100 psi, while commercial transport A/C systems may be pressure tested up to 300 psi for short diagnostic periods to check for hose expansion and pressure decay. Always follow manufacturer specifications for safe test pressures.
Step 5: Try Soap Bubble Testing on Suspected Areas
This old-school method still works well at pinpointing specific fittings and connections once you’ve narrowed down a suspect area. Simply apply soapy water to the joint or fitting while the system is under pressure. Bubbles forming at a point confirm the leak location.
Soap bubble testing is most useful as a secondary confirmation method rather than a standalone diagnostic. It works best at accessible areas like service ports, hose ends, and fittings.
Comparing Leak Detection Methods
Each method has its place depending on the situation. Here’s a quick comparison to help you decide which approach fits your needs:
| Method | Best For | System Needs Refrigerant? | Skill Level |
|---|---|---|---|
| Visual Inspection | Initial scan for oil residue | No | Beginner |
| Electronic Detector | Fast pinpointing of active leaks | Yes | Intermediate |
| UV Dye + UV Light | Slow or intermittent leaks | Yes | Intermediate |
| Nitrogen Pressure Test | Evacuated or empty systems | No | Professional |
| Soap Bubble Test | Confirming specific fittings | Under pressure | Beginner |
What Happens After You Find the Leak
Finding the leak is only half the job. Once you know where refrigerant is escaping, the system needs to be properly repaired before recharging. Simply adding more refrigerant without fixing the leak is a temporary band-aid — the cooling problem will return, and you’ll keep losing refrigerant while the underlying damage continues.
Depending on the leak source, repairs might include:
- Replacing worn O-rings or gaskets at fittings and connections
- Installing a new compressor shaft seal
- Replacing a damaged hose or hose assembly
- Repairing or replacing a corroded condenser
- Replacing a leaking evaporator core
After repairs, the system must be evacuated with a vacuum pump to remove air and moisture before a fresh refrigerant charge is added. This full process — leak detection, repair, evacuation, and recharge — is what a professional A/C service includes. You can read more about what’s involved in a complete AC service for your vehicle.
If you’re a fleet manager or truck operator running multiple vehicles, staying on top of leak detection across your whole fleet is equally important. Check out these fleet vehicle AC repair tips that save you money to build a smart maintenance approach.
Signs Your Truck May Have an AC Leak Right Now
Not sure if you have a leak? Watch for these telltale symptoms:
- A/C blows cool but not cold, especially after a recent recharge
- Cooling performance gets worse over days or weeks
- You can see or smell a slight oily film near A/C components
- The A/C compressor clutch cycles on and off rapidly (low pressure)
- The A/C works well when first started but fades after 15–20 minutes
Any of these signs suggest it’s time to investigate. You can also review 10 reasons your AC is blowing warm air to help narrow down the cause before your service appointment.
When to Call a Professional for Truck AC Leak Detection
Some leaks are straightforward DIY jobs — a loose service port cap or a visible O-ring at an accessible fitting. But many truck AC leaks require professional equipment and experience, especially when the evaporator is involved or when the system needs evacuation and recharge with certified refrigerant handling.
Working with refrigerants also has legal requirements. In the U.S., handling refrigerants requires EPA Section 609 certification for motor vehicle A/C systems. A certified technician has the training, tools, and certification to handle the job safely and legally.
Marks Air has been serving Tampa drivers, truck operators, fleet managers, and heavy equipment operators since 1971. As a member of the Mobile Air Climate Systems Association (MACS), the shop stays current with the latest A/C service standards and refrigerant technologies. Whether you’re dealing with a slow evaporator leak or need a full system inspection, the team has the tools and experience to find it fast.
You can also check Marks Air on Google to read what Tampa-area customers say about their truck and vehicle A/C service experience.
If your truck is part of a larger fleet, preventive leak detection is far more cost-effective than reactive repairs. See how preventive fleet AC maintenance compares to reactive repairs and why staying ahead of leaks pays off.
Want to keep your A/C skills sharp or train your technicians? Marks Air’s training programs cover EPA 609 certification, HFO-1234yf systems, and MVAC best practices — everything needed to handle modern truck A/C systems confidently.
Follow Marks Air on Facebook and Instagram for tips, updates, and behind-the-scenes looks at the shop’s A/C work across Tampa Bay.
Keep Your Truck Cool — Don’t Ignore the Warning Signs
Truck AC leak detection doesn’t have to be a mystery. With the right approach — visual inspection, electronic sniffers, UV dye, or pressure testing — most leaks can be found and fixed before they turn into expensive system damage. The key is acting early, using the right method for the situation, and completing the full repair-and-recharge process rather than just topping off refrigerant.
Tampa summers are no joke. Whether you’re behind the wheel of a pickup, a long-haul truck, or a piece of heavy equipment, a properly functioning A/C system keeps you comfortable and focused. Don’t let a small leak sideline your workday.
Ready to get your truck’s A/C checked by a specialist? Schedule your AC service appointment with Marks Air or call us at 813-988-1671 and let Tampa’s trusted A/C team take it from there.
FAQs
Q: How do you find an AC leak in a truck?
A: The most common methods are electronic refrigerant leak detectors, UV dye with a UV light, nitrogen pressure testing, and visual inspection for oily residue. Most professional shops use a combination of these methods to confirm the exact leak location before making repairs.
Q: Can you detect a truck AC leak without adding refrigerant?
A: Yes! If the system is already empty, a nitrogen pressure test is your best friend — technicians pressurize the system with inert gas and then check for escaping pressure. Visual inspection for oily buildup also requires no refrigerant in the system at all.
Q: What are the most common AC leak points in a truck?
A: The most frequent culprits are compressor shaft seals, O-rings at fittings and connections, hose crimps, condenser cores, Schrader valve service ports, and evaporator cores. In Tampa’s heat, O-rings tend to dry out and crack faster, making them a very common source of leaks in local trucks.
Q: Is UV dye or an electronic leak detector better for truck AC leaks?
A: Both are excellent tools, and many techs use both together! Electronic detectors are faster for pinpointing active leaks in real time, while UV dye is better for slow or intermittent leaks that don’t show up immediately on a sniffer. Using both gives you the most complete picture.
Q: Can I keep driving my truck if the AC is leaking refrigerant?
A: You can still drive, but we’d encourage you not to wait too long! Low refrigerant causes the compressor to work harder and can allow moisture into the system, leading to corrosion and expensive component damage. Getting the leak diagnosed and fixed sooner rather than later protects both your comfort and your wallet.