Key Takeaways
- Verify technicians hold EPA Section 609 certification for vehicle AC work, not residential HVAC credentials—residential and automotive systems use different refrigerants (R-134a vs R-1234yf), pressures, and procedures that aren’t interchangeable.
- Always complete pre-installation diagnostics including leak tests, electrical circuit checks, and contamination inspection—skipping these leads to recurring failures and wasted money on new components that fail prematurely.
- Use OEM parts matching your vehicle’s exact specifications; aftermarket universal components cause mounting mismatches, incorrect refrigerant capacity, and electrical connector failures that void warranties.
- Account for Tampa’s high humidity (80%+ average) and salt-air corrosion during installation by specifying corrosion-resistant condensers, anti-microbial evaporator treatments, and adjusted refrigerant pressure specs for 95°F+ temperatures.
- Don’t rush installation during peak summer—proper vacuum pump time (30-45 minutes) and careful refrigerant charging prevent moisture-induced acid damage; watch for shortcuts indicated by warm air within days or compressor noise.
- Budget for complete system overhaul including receiver/drier, expansion valve, hoses, and seals rather than single-component replacement—older vehicles need simultaneous replacement to avoid returning for repairs within months.
Your mechanic just quoted $1,200 for a new AC compressor, but the real problem might be a $50 cabin filter nobody checked. Sound familiar? You’re not alone. Every summer in Tampa, drivers spend thousands of dollars on AC installation work that could have been avoided — or at least done right the first time. Florida’s brutal heat makes a working AC system non-negotiable, whether you’re driving a car, running a delivery fleet, or taking your RV on a weekend trip. The challenge is that vehicle AC systems are highly specialized. They’re nothing like the HVAC unit in your home. When installation goes wrong, you pay for it twice — once for the bad job, and again to fix it. This guide walks you through the eight most common AC installation mistakes Tampa drivers make every summer, so you can avoid them, ask smarter questions, and keep cool when it matters most.
Choosing Home HVAC Installers for Vehicle AC Work
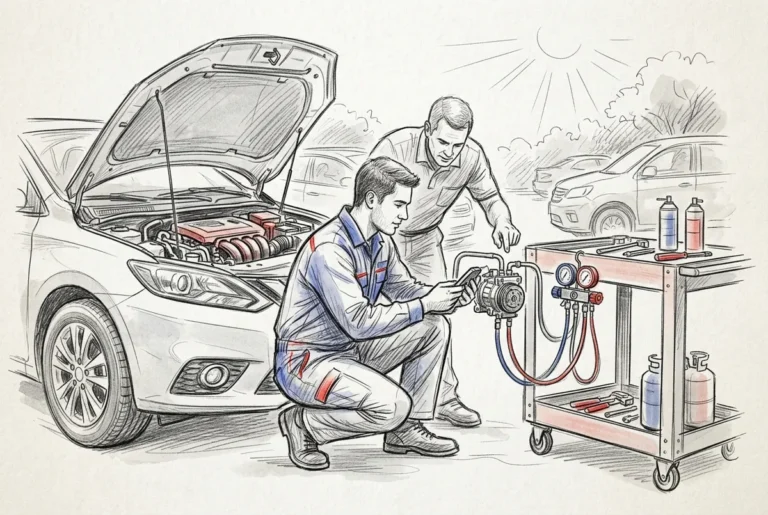
This is one of the most expensive mistakes Tampa drivers make. When your car AC fails, it can be tempting to call any refrigeration or cooling technician nearby. But residential HVAC technicians and automotive AC specialists are trained for completely different systems.
Residential AC techs lack the automotive refrigerant expertise that vehicle systems demand. Home units operate on different refrigerant types, pressures, and cycles than what runs in your car, truck, or bus. A home tech unfamiliar with mobile air conditioning can easily misdiagnose the problem or use the wrong procedures.
The refrigerant difference matters a lot. Older vehicles use R-134a, while newer models (typically 2017 and newer) use R-1234yf. These are not interchangeable. R-1234yf requires specialized equipment and handling procedures. Using the wrong refrigerant — or the wrong tools — can damage a brand-new system fast.
Mobile AC systems also operate at much higher pressures than home units. Vehicle compressors work under constant vibration, heat cycles, and road conditions that residential equipment never experiences. This means the pressure tolerances, fittings, and leak-check procedures are entirely different.
Then there’s the certification gap. Automotive AC technicians should hold ASE certification (Automotive Service Excellence), while HVAC pros hold EPA Section 608 licenses. Vehicle AC work requires EPA Section 609 certification specifically. These are not the same credential. Always verify your technician holds the right license for your vehicle type before any AC installation or repair work begins.
At Marks Air, technicians focus exclusively on mobile AC systems — not home units. That specialization makes a real difference in getting the job done right the first time.

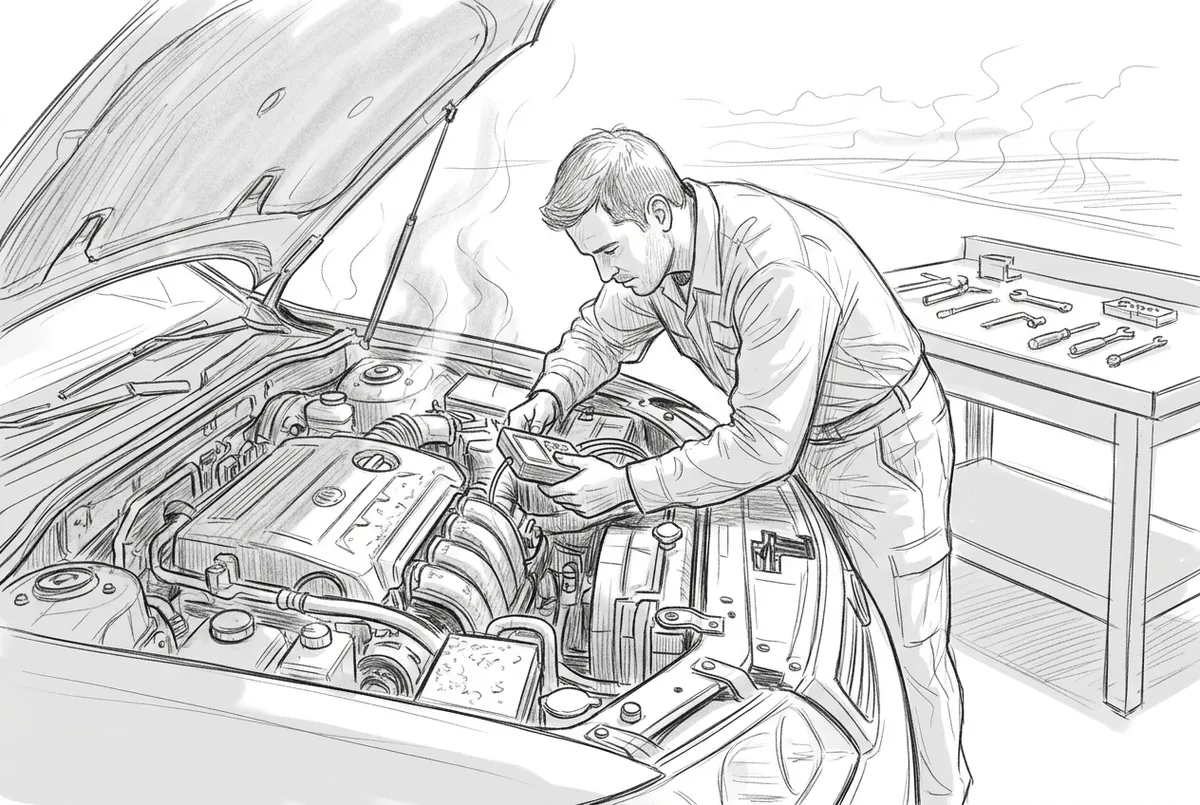
Skipping Pre-Installation System Diagnostics
Jumping straight into installation without a thorough diagnostic is like putting a new engine in a car with a cracked frame. It looks like a fix, but the underlying problem is still there — just waiting to surface again.
Hidden leaks are one of the biggest culprits. A small leak in a hose, O-ring, or fitting can deplete refrigerant within weeks of a new installation. If the leak isn’t found and fixed before the new system goes in, you’ll be right back to square one very quickly.
Electrical issues are another sneaky problem. Many so-called compressor failures are actually caused by faulty relays, bad grounds, or wiring problems that prevent the compressor clutch from engaging properly. Replacing the compressor without testing the electrical circuit wastes money and leaves the real problem untouched.
Here are key diagnostic checks that should happen before any AC installation:
- Full refrigerant leak test using UV dye or electronic detection
- Electrical circuit inspection of the compressor clutch and relay
- Refrigerant contamination check to identify moisture or oil breakdown
- Belt and pulley inspection for tension, wear, and alignment
- Condenser and evaporator core visual inspection
Contaminated refrigerant is a serious issue that often gets overlooked. If the old system failed due to a compressor burnout, metal shavings and debris circulate through the lines. Installing a new compressor without flushing the system first will destroy the new unit — sometimes within hours.
Belt tension problems also affect system performance significantly. A loose or worn serpentine belt causes the compressor to slip and underperform even if the rest of the system is perfectly installed. A proper pre-installation inspection catches all of these issues upfront, saving you real money. Check out our AC FAQs to learn more about what a good diagnostic includes.
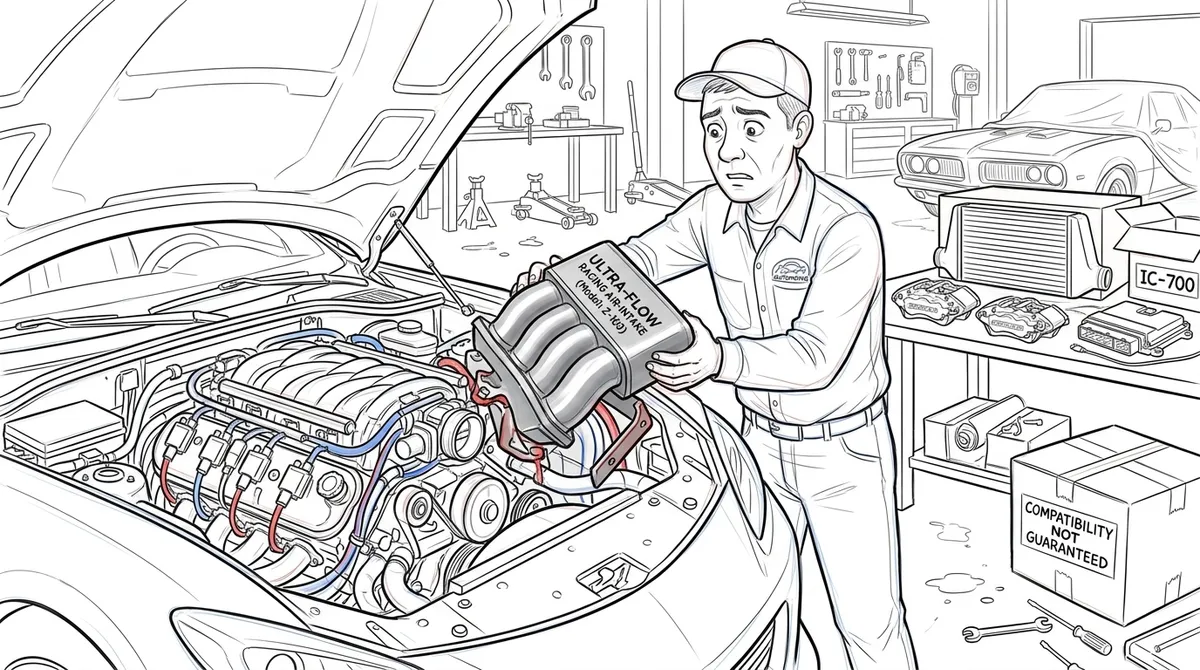
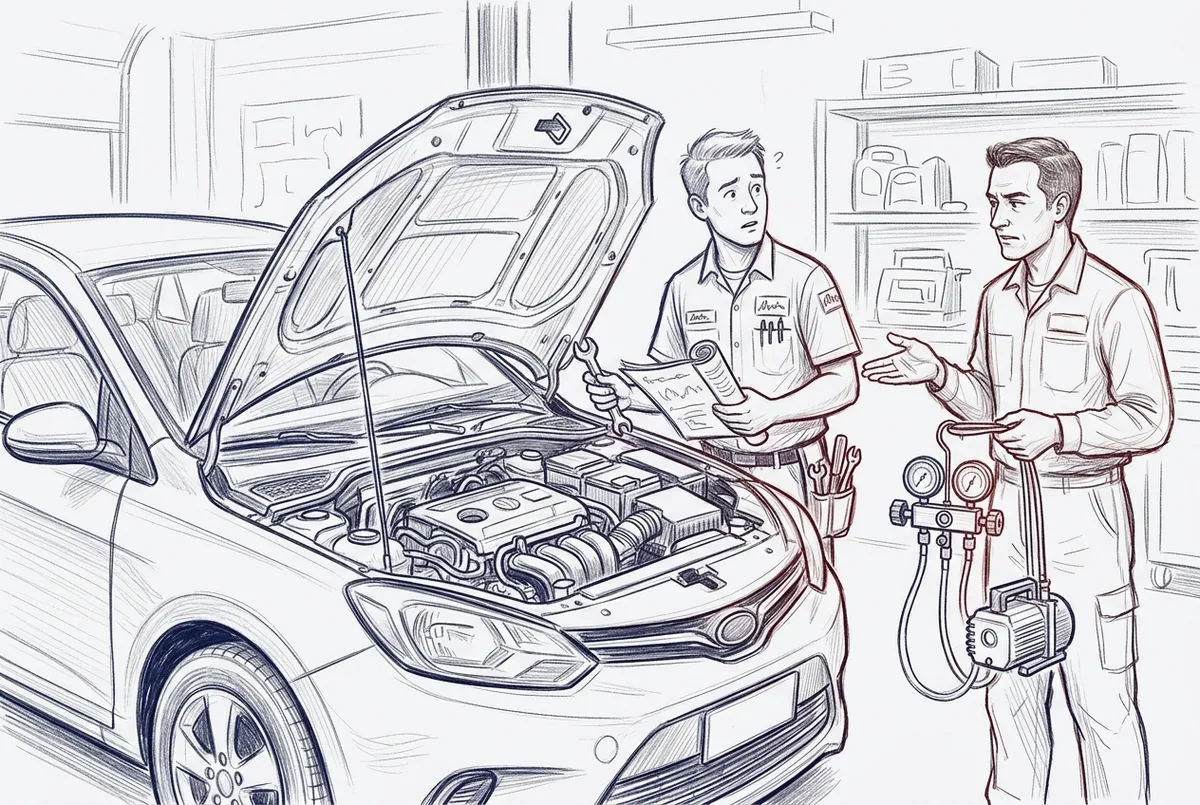
Installing Aftermarket Parts Without Checking Compatibility
Not all AC parts are created equal — and in the world of vehicle AC installation, compatibility is everything. Using the wrong part doesn’t just reduce performance; it can cause immediate system failure.
OEM (Original Equipment Manufacturer) compressors are designed specifically for your vehicle’s mounting points, bracket configurations, and belt alignment. Universal aftermarket compressors may look similar but often have different bolt patterns or shaft lengths, causing fitment issues and vibration that shortens component life.
Refrigerant capacity is another area where one-size-fits-all thinking fails. Each vehicle model has a precise refrigerant charge specification — measured in ounces, not rough estimates. Overcharging by even a few ounces increases system pressure and stresses seals and hoses. Undercharging leads to poor cooling and compressor damage from lack of lubrication.
| Part Type | OEM Advantage | Aftermarket Risk |
|---|---|---|
| Compressor | Exact fit, matched capacity | Mounting mismatches, noise |
| Expansion Valve | Calibrated for your system | Incorrect flow rates |
| Electrical Connectors | Plug-and-play compatibility | Voltage mismatches, failures |
| Hoses and Fittings | Correct diameter and pressure rating | Leaks, blowouts under pressure |
Electrical connector mismatches are a growing problem as vehicles become more complex. Modern AC systems communicate with the engine control module. Using a connector with different pin configurations or voltage ratings can trigger warning lights, disable safety features, or cause the compressor to fail entirely.
Finally, using non-approved parts often voids your vehicle warranty and any installer warranty offered with the job. Always confirm that your AC parts are compatible with your specific make, model, and year before installation begins.

Ignoring Tampa’s Humidity Impact on System Design
Tampa’s climate is uniquely demanding. With average summer humidity levels above 80% and temperatures regularly hitting 95°F or higher, your vehicle’s AC system faces stress that drivers in cooler states never experience. Ignoring this during installation leads to faster wear and frequent breakdowns.
Evaporator drain blockages are very common here. When humid air passes over the cold evaporator core, condensation forms rapidly. This moisture needs to drain away through the drain tube. In Tampa’s climate, algae and mold can clog this drain quickly, causing water to back up into the cabin and reducing system efficiency.
Condenser coil corrosion is a real threat for drivers near Tampa Bay’s coastal areas. Salt air accelerates corrosion on aluminum condenser fins, reducing airflow and heat exchange efficiency. Protective coatings and regular inspections help extend condenser life significantly.
Key Tampa-specific installation and maintenance considerations include:
- Specifying condensers with corrosion-resistant coatings for coastal use
- Installing drain tube extensions or anti-microbial treatments on evaporators
- Using refrigerant pressure specs adjusted for high ambient temperatures
- Replacing cabin air filters every 10,000–12,000 miles in Tampa (vs. 15,000+ in drier climates)
In 95°F heat, refrigerant pressures run significantly higher than at moderate temperatures. A system that passes pressure testing in a cool shop may struggle under real Tampa summer conditions. Technicians familiar with Florida’s climate account for this during installation and component selection.
Rushing Installation During Peak Summer Demand
Summer in Tampa means every AC shop in town is slammed. When demand spikes, rushed installations become a real risk. Cutting corners during installation creates problems that show up weeks later — and they’re expensive to fix.
One of the most common shortcuts is skimping on vacuum pump time. Before charging a system with refrigerant, technicians must pull a deep vacuum to remove all moisture and air from the lines. This process should take 30–45 minutes minimum. Rushing it leaves moisture in the system, which mixes with refrigerant to form acid that destroys components from the inside out.
Improper refrigerant charging is another time-pressure mistake. Correctly charging a system requires patience — monitoring pressures while the system runs, adjusting slowly, and verifying both high and low side readings against the vehicle specification. A hurried tech may eyeball the charge, leading to an under- or over-charged system.
Watch for these warning signs of a rushed installation:
- Warm air within days of a new installation
- Unusual noises from the compressor area
- Refrigerant smells inside the cabin
- Visible oil staining around new fittings
Torque specifications on fittings matter too. Over-tightening cracks aluminum fittings. Under-tightening causes slow leaks. Each fitting has a manufacturer-specified torque value that must be followed.
And if a compressor failed due to a burnout, the entire system must be flushed before the new unit goes in. Skipping this step sends debris and contaminated oil straight into the new compressor — ruining it quickly. Don’t let time pressure cost you another repair bill. Schedule your AC service early in the season to avoid the summer rush.
Neglecting Fleet-Specific Requirements
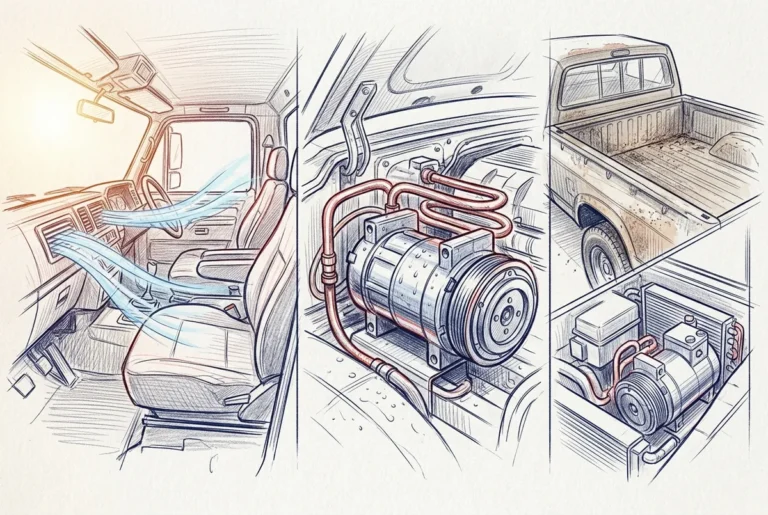
Fleet vehicles have AC needs that are completely different from personal cars. Whether you’re managing a delivery truck fleet, operating charter buses, or running a construction crew with heavy equipment, a one-size-fits-all installation approach will fall short.
Delivery trucks and heavy-duty vehicles run harder and longer than passenger cars. They need compressors and condensers rated for high-duty cycles and extended idle operation. Standard passenger car components wear out much faster in these demanding applications.
RVs present their own unique challenges. Many modern RVs have dual AC systems — one for the cab and one for the living space. Each system has different refrigerant capacities, compressor types, and airflow requirements. Installing a cab-only system and expecting it to cool the living area is a setup for discomfort and premature failure.
Bus AC installations require zoning considerations for passenger area coverage. A single evaporator in the front of a 40-foot bus won’t cool the back rows effectively in Tampa’s heat. Proper bus AC installation often involves multiple evaporators, strategically placed for even airflow throughout the cabin.
| Vehicle Type | Special Consideration | Key Upgrade |
|---|---|---|
| Delivery Trucks | High idle time, duty cycle | Heavy-duty compressor, extra cooling capacity |
| RVs | Dual zone living/cab spaces | Separate systems, matched to each zone |
| Buses | Passenger zoning needs | Multiple evaporators, rear-zone coverage |
| Heavy Equipment | Extended outdoor idle in heat | Sealed cab systems, high-capacity condensers |
For construction equipment, operators spend hours in sealed cabs under direct sun. AC system component selection must account for sustained high ambient temperatures and equipment vibration levels. Marks Air has extensive experience with these fleet and specialty applications — check out our customer reviews to see what fleet operators say about working with us.
Overlooking Post-Installation Maintenance Setup
Getting a quality AC installation is only half the battle. What happens in the weeks and months after installation determines how long the system lasts. Skipping post-installation steps is a surprisingly common mistake.
New compressors require a break-in procedure. Most manufacturers recommend running the AC at moderate settings for the first few hours of operation — avoiding maximum load immediately after install. This allows new internal components to seat properly and ensures oil distribution throughout the system.
- Run AC at medium fan and moderate cooling for the first 1–2 hours after installation
- Document baseline performance readings (vent temperature, high/low side pressures)
- Schedule a follow-up inspection 30 days after installation to check for leaks or pressure changes
- Set up a seasonal maintenance schedule aligned with Tampa’s climate demands
Documenting initial performance benchmarks is especially valuable for fleet managers. Knowing what “normal” looks like for each vehicle makes it much easier to catch declining performance early, before a small issue becomes a big repair bill.
For Tampa’s climate, a twice-yearly maintenance check — before summer heat arrives and again in fall — keeps systems performing at their best. Fleet operators benefit enormously from integrating AC maintenance tracking into their overall vehicle maintenance software. Our AC training programs also help fleet maintenance teams stay on top of proper system care.
Marks Air is a proud member of the Mobile Air Climate Systems Association (MACS), which means our technicians stay current on the latest best practices for mobile AC maintenance and installation.
Failing to Budget for Complete System Overhaul
The final mistake is treating AC installation as a single-line item on your repair budget. In reality, a failing AC system rarely has just one bad component — especially in older vehicles.
Beyond the compressor, hidden costs often include a new receiver/drier, expansion valve, flush kit, and fresh refrigerant. Hoses and seals in vehicles over eight years old are frequently brittle and crack when disturbed during installation. Replacing them at the same time saves labor costs compared to coming back for a separate repair two months later.
- Receiver/drier replacement (recommended with every compressor replacement)
- Expansion valve or orifice tube service
- Hose and O-ring replacement in high-age vehicles
- Electrical system checks and fuse box inspection
- System flush and fresh refrigerant oil
Modern AC units — particularly those using R-1234yf refrigerant — may also require electrical system upgrades to ensure the correct voltage and amperage reach the new compressor. This is especially relevant for vehicles where older wiring is being paired with a newer-spec AC system.
Labor costs also vary significantly by vehicle type. Replacing an AC compressor in a compact car may take two hours. The same job on a large commercial bus or piece of heavy construction equipment can take a full day or more. Budget accordingly and ask for a full written estimate that accounts for all likely components — not just the headline part.
If you want honest, complete AC installation pricing with no surprise add-ons, visit us on Google to read what Tampa customers say about our transparent approach, or connect with us on Facebook and Yelp for more real customer experiences.
Keep Your Cool This Summer — Do It Right the First Time
Tampa summers are no joke. Whether you’re a daily commuter, a truck driver logging long miles, a bus operator keeping passengers comfortable, or a fleet manager responsible for dozens of vehicles, a properly installed AC system is essential — not optional. Avoiding these eight common mistakes saves you money, reduces downtime, and keeps everyone cool when the heat index pushes past 100°F.
The right shop matters. Choose a technician with proper automotive AC certifications, the right diagnostic tools, and real experience with your type of vehicle. Marks Air has been serving Tampa’s drivers, fleets, and heavy equipment operators since 1971, with a total focus on vehicle AC systems — no home HVAC work, just specialized automotive cooling expertise built over five decades.
Don’t wait until your AC quits on the hottest day of the year. Schedule your AC installation or inspection with Marks Air today, or call us at 813-988-1671 to talk through what your vehicle needs. We’re here to keep Tampa rolling cool all summer long.
FAQs
Q: How long should a properly installed vehicle AC system last in Tampa’s climate?
A: A well-installed vehicle AC system typically lasts 8–12 years, though Tampa’s heat and humidity can shorten that lifespan without regular maintenance. Keeping up with cabin filter changes, annual inspections, and addressing small leaks early goes a long way toward getting the most out of your system.
Q: What’s the typical cost difference between dealer and independent shop AC installation?
A: Dealer AC installations often run 30–50% higher than an independent specialist shop, mainly due to higher labor rates and mandatory OEM-only parts policies. A reputable independent shop like Marks Air can use quality OEM or equivalent parts at a more competitive price, without sacrificing workmanship.
Q: Can I convert my older R-12 system to modern refrigerant during installation?
A: Yes! Retrofitting an older R-12 system to R-134a is a common and cost-effective upgrade during a full AC installation or overhaul. The process involves replacing seals, O-rings, and the receiver/drier, and adding the correct retrofit oil — all steps a certified automotive AC technician can handle for you.
Q: Should fleet vehicles get preventive AC replacement before failure?
A: Absolutely — for fleet operators, preventive AC replacement on high-mileage vehicles (typically 150,000+ miles) almost always costs less than emergency repairs and unplanned downtime. Scheduling proactive replacements during your slow season keeps your fleet running smoothly when summer demand peaks.
Q: How do I verify my installer has proper automotive AC certifications?
A: Ask your technician directly for their EPA Section 609 certification and ASE credentials — any reputable shop will be happy to show you. You can also check whether the shop is affiliated with industry organizations like MACS (Mobile Air Climate Systems Association), which signals a commitment to ongoing training and best practices.